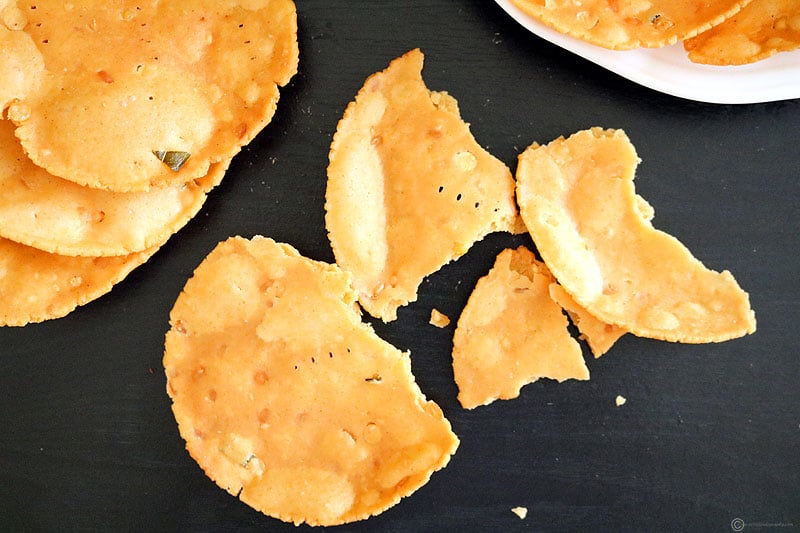
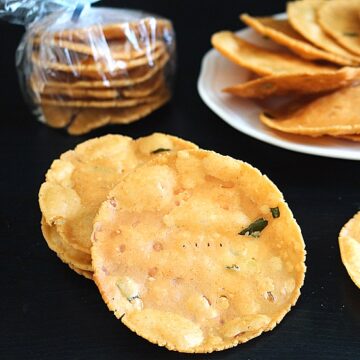
My 225th recipe, "Thattai", a delicious South Indian festival snack. Thattai is my most favorite snack my mom used to make at home. I have been enjoying a crispy bite of thattai all along my life, especially during Krishna Jeyanthi and Diwali. I wanted to post this recipe when I made during Krishna Jeyanthi. However, due to other personal commitments, I just had 1 day to prepare all the Krishna Jeyanthi sweets and snacks and I was unable to click stepwise photos. So I decided that I would try making thattai ahead of time for Diwali, so that I will have time to click the snaps for the blog.

Thattai recipe in itself is a very easy recipe to make. It is as simple as throwing everything together in a bowl, making the dough, shaping and frying. While it is simple and sounds so, it is essential to follow the few basic steps which will ensure that you get the perfectly crispy thattai each time.

The first time I made this recipe, I was lazy to melt the butter and instead added softened butter which was at room temperature. I did not find any different until I started frying the first thattai. The butter in the dough started melting as soon as the thattai hit the hot oil and it totally dissolved into the oil. Since that attempt, I always try to play by the rule books, just like how my mom used to make it 🙂 For folks who are hearing it newly, thattai is a crispy fried Indian snack made from rice and dal flour. Super crispy and tasty 😉
Thattai
Thattai
Ingredients
- 1 ½ Tbsp Chana dal
- 1 Tbsp Urad dal
- 2 Cups Rice flour (I used idiyappam flour from packet)
- 2 Tbsp Urad dal flour (*Refer notes)
- 2 Tbsp Pottu Kadalai | Roasted Gram flour (*Refer notes)
- 1 Tbsp White seesame seeds
- 1 ¼ tsp Salt (adjust per taste)
- 1 ½ tsp Red chilli powder
- ¼ tsp Asafoetida
- 1 sprig Curry leaves (chopped)
- 2 Tbsp Unsalted Butter (measure and melt)
- Oil - For deep frying
Instructions
- First wash and soak the chana dal and urad dal together in water for about 1 hour. Then drain the water and keep aside.
- To a large mixing bowl, add all the ingredients listed (including the soaked dal) except for Oil. Mix well until all ingredients are combined. Now start adding water little by little and mix to get a smooth non-sticky dough. I used close to a 1 ½ Cup of water. Keep the dough covered with a wet towel until use.
<br><br><img src="//revi.b-cdn.net/wp-content/uploads/2017/02/that-1.jpg" alt="thattai" width="48%" /> <img src="//revi.b-cdn.net/wp-content/uploads/2017/02/that-2.jpg" alt="that" width="48%" /> - Now heat a pan with the oil for frying. Take two pieces of banana leaf or thick plastic sheets (I used zip lock covers). Grease them with oil. Now take a medium gooseberry size of prepared dough and make it into a ball. Keep the remaining dough covered to avoid drying of dough. Place the dough ball on the greased plastic sheet.
<br><br><img src="//revi.b-cdn.net/wp-content/uploads/2017/02/that-3.jpg" alt="thattai" width="48%" /> <img src="//revi.b-cdn.net/wp-content/uploads/2017/02/that-4.jpg" alt="that" width="48%" /> - Now, place the other greased sheet over the ball, press it into a thin flat disc. I used a flat base vessel. Now remove the top sheet and use your fingers to even out the thattai. Prick the thattai using a fork to avoid puffing up of thattai while frying.
<br><br><img src="//revi.b-cdn.net/wp-content/uploads/2017/02/that-5.jpg" alt="thattai" width="48%" /> <img src="//revi.b-cdn.net/wp-content/uploads/2017/02/that-6.jpg" alt="that" width="48%" /><br><br><img src="//revi.b-cdn.net/wp-content/uploads/2017/02/that-7.jpg" alt="thattai" width="48%" /> <img src="//revi.b-cdn.net/wp-content/uploads/2017/02/that-8.jpg" alt="that" width="48%" /><br><br><img src="//revi.b-cdn.net/wp-content/uploads/2017/02/that-9.jpg" alt="thattai" width="48%" /> <img src="//revi.b-cdn.net/wp-content/uploads/2017/02/that-10.jpg" alt="that" width="48%" /> - Remove the thattai from the sheet gently and slide it into the hot oil. Cook in medium-low flame by flipping the thattai at regular intervals. Fry until the bubbles totally subsides / stops and the thattai becomes golden brown on both sides. Remove from oil and drain excess oil on a paper napkin. Repeat the same with the remaining dough.
<br><br><img src="//revi.b-cdn.net/wp-content/uploads/2017/02/that-11.jpg" alt="thattai" width="48%" /> <img src="//revi.b-cdn.net/wp-content/uploads/2017/02/that-12.jpg" alt="that" width="48%" /> - Store in a air tight container once completely cooled down. Enjoy as an anytime snack.
arniker hamsa says
Can I add crushed garlic to Tattai flour for flavour?
revifood says
You can add garlic paste, Arniker. Crushed garlic will burn during frying.
MEENa says
I. Made this recipe exactly as given but the thatai turned out very hard. Where did I go wrong g can you please explain?
revifood says
Hi Meena, the texture of traditional snacks differ based on the flour used. If your thattai is turning out hard, you will have to add a little more melted butter to the dough. Dont add too much, else the thattai will loose its crispiness and turn out soft. Also, thattai should not be flattened too thin. That will also lead to hard thattais.
[email protected] says
This looks super tempting Revathi, my hubby's favorite
revifood says
Thanks Jyothi. It is a favorite in our house too 🙂